The Ultimate Bedroom DIY: Peel-and-Stick Accent Wall Transformation
This post contains affiliate links. If you purchase through our links, we may earn a commission at no extra cost to you.
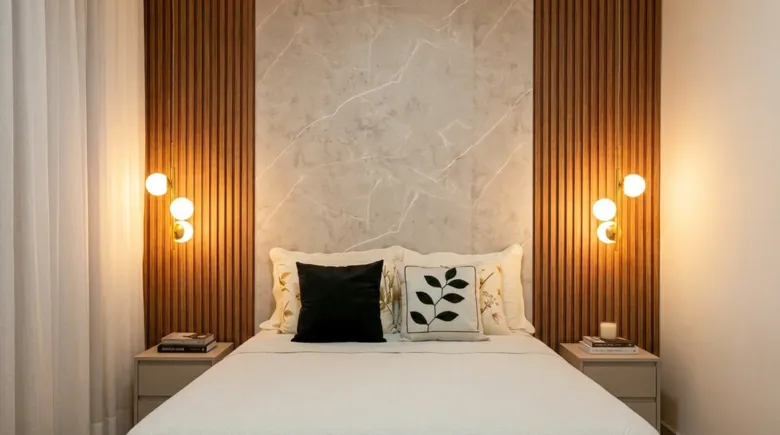
We’ve all seen those stunning, high-end bedroom designs featuring custom slatted wood paneling and marble backdrops. They look incredible, but the price tag for professional carpentry and stone installation can quickly put a damper on your design dreams.
What if you could get that exact same luxury look over a single weekend, entirely by yourself, and without a single power tool?
Thanks to modern peel-and-stick materials, you can. Here is a step-by-step breakdown of how to transform a plain bedroom wall into a stunning, textured masterpiece that looks like a high-end hotel suite.
The Design Blueprint
The secret to this look is contrast and symmetry. Instead of covering the entire wall in one material, this design uses a multi-textured approach:
- The Flanking Panels: Beautiful, vertical wood slats on either side to frame the bed and add height.
- The Centerpiece: A large faux-marble slab effect directly behind the headboard to add a touch of modern luxury.
Step 1: Prepping Your Canvas
Before peeling off any backing, make sure your wall is completely clean, dry, and smooth. Wipe down the surface to remove any dust or oils that could prevent the adhesive from bonding permanently.
Step 2: Framing with Slat Wood Panels
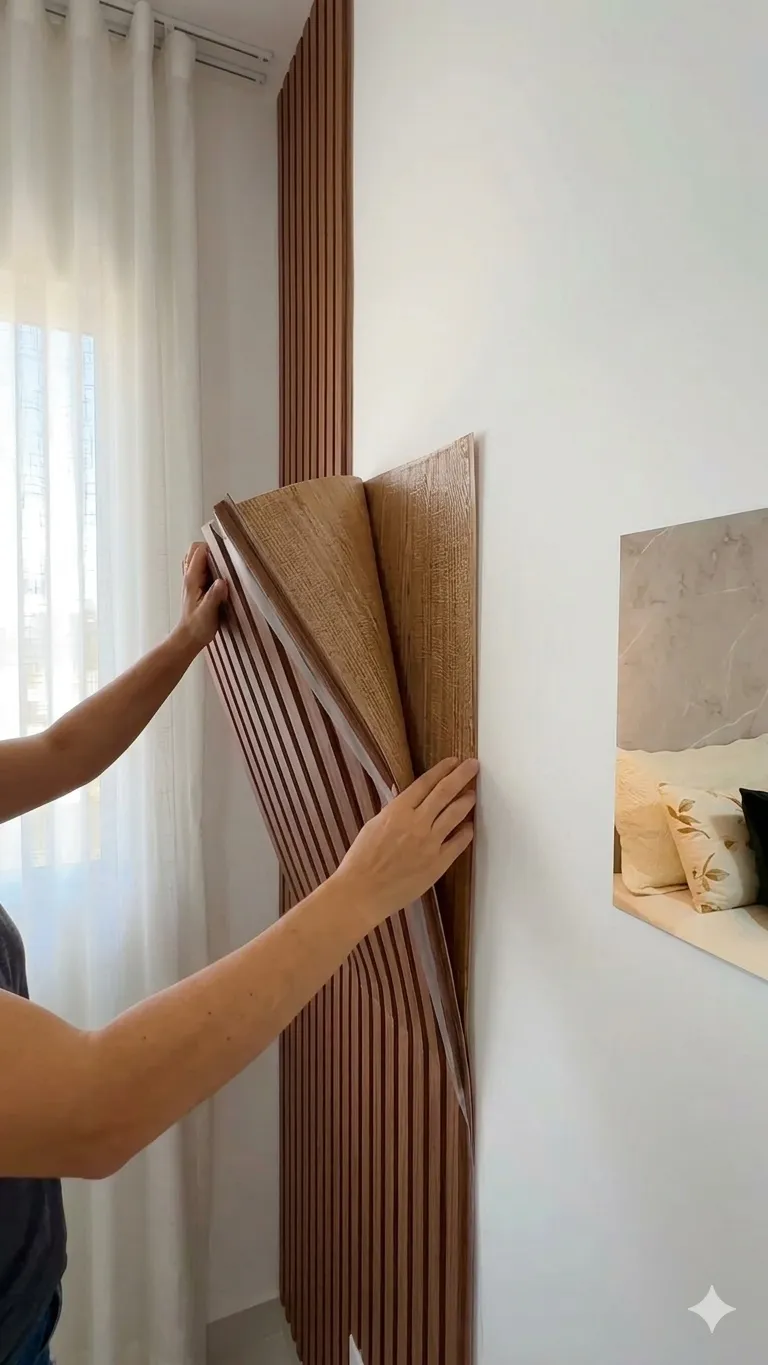
Start from the corners of your bed's layout. Using flexible, lightweight peel-and-stick fluted wood wall panels, carefully measure and line them up with the edge of the wall.
Pro Tip: Make sure your first panel is perfectly level. If the first one is crooked, the rest of the wall will follow suit!
Once aligned, peel away the protective plastic backing and press the panel firmly onto the wall, smoothing it down from top to bottom. Repeat this on both the left and right sides, leaving an equal gap in the middle for your center texture.
Step 3: Adding the Luxury Centerpiece
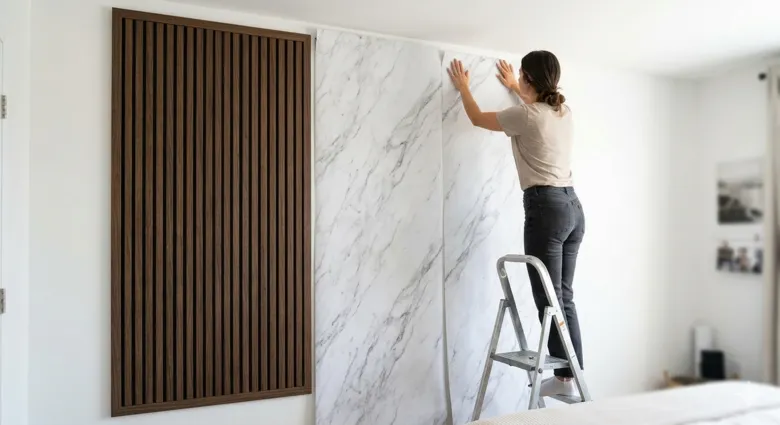
Now for the focal point. To bridge the gap between the wood panels, use a high-quality, thick marble-patterned contact paper or wallpaper.
Start from the top of the ceiling and slowly unroll the paper downward. Use a wallpaper smoothing tool (or a clean cloth) to press out any air bubbles as you move down. The combination of the warm wood grain and the cool, elegant marble veins creates an instant, high-contrast visual impact.
Step 4: The Finishing Touches
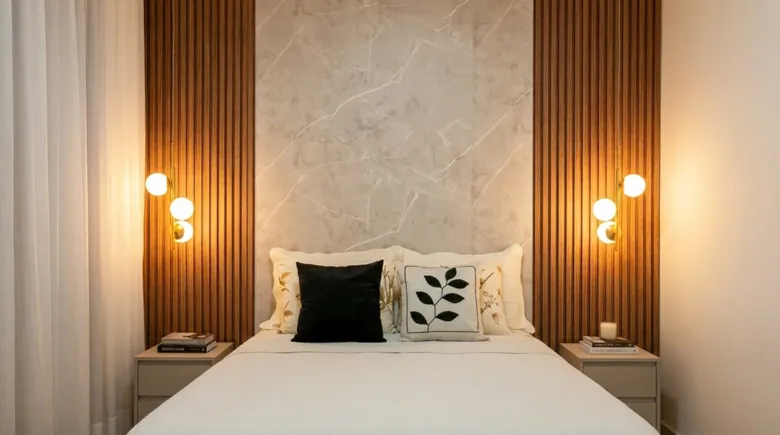
To truly elevate this DIY project from "home craft" to "designer showroom," lighting is key.
Mounting a pair of modern, warm-toned globe wall sconces directly onto the wood slatted panels softens the space and highlights the rich textures you just installed. If you don't want to wire them into the wall, simply use puck lights or rechargeable smart bulbs for a completely wireless installation!
The Final Verdict
You don't need a massive budget or years of construction experience to build a home you love. With a little patience and the right peel-and-stick materials, you can completely redefine the atmosphere of your bedroom.
Are you ready to tackle your own accent wall this weekend?